Omada SDN Setup
Follow this guide to bind your TP-Link Omada Controller with Captivux Cloud RADIUS and custom captive portal.
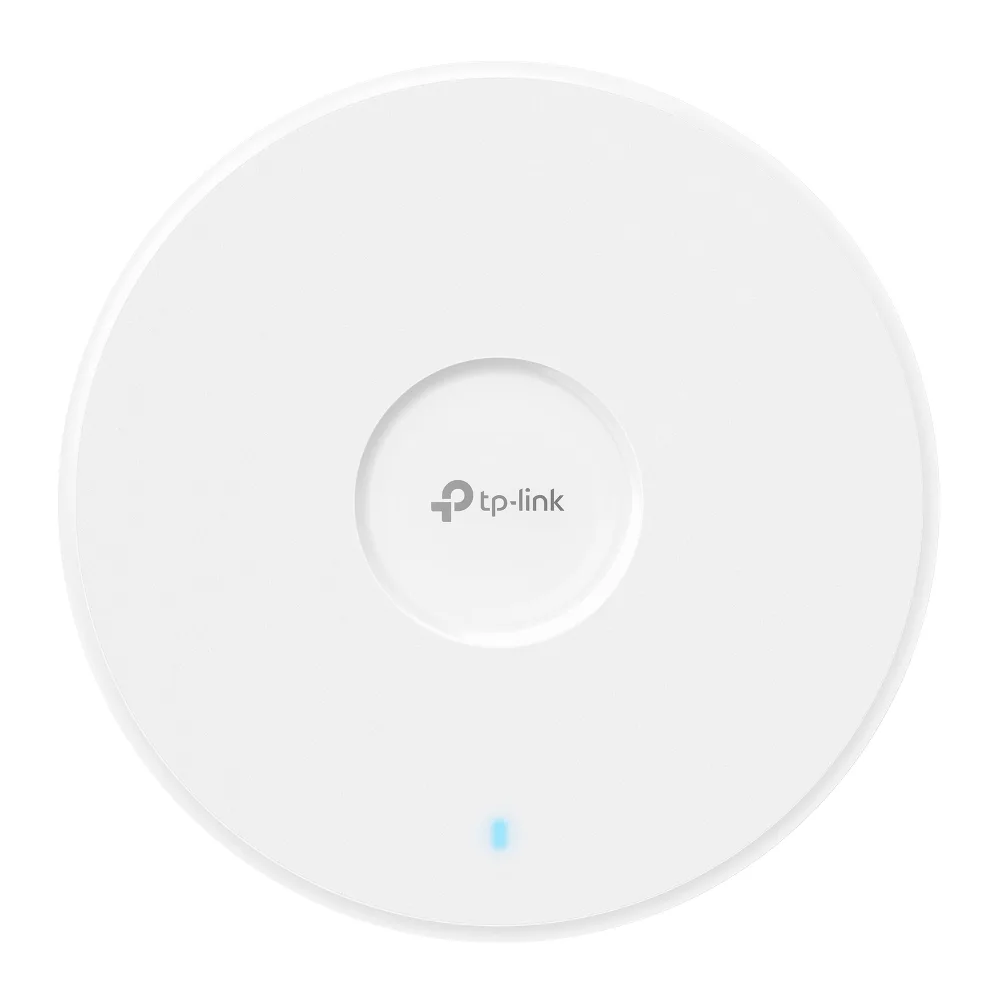
TP-Link Omada Integration
Fully compatible with all TP-Link Omada controller systems (software controllers, hardware controllers OC200/OC300, and Omada Cloud-Based Controller) and Omada EAP series access points.
Configuration Steps
Step-by-step controller setup instructions.
Create RADIUS Profile
Navigate to Settings > Profiles > RADIUS Profile. Click Add New. Name it "Captivux RADIUS". Enable Authentication and Accounting. Add RADIUS IP 198.51.100.14, Port 1812 (Auth) and 1813 (Acct) with your Venue Secret Key.
Configure Portal Authentication
Go to Settings > Wireless Networks > Portal. Enable Portal. Name it "Guest Wi-Fi". Select Portal Type: External RADIUS Server. Select the RADIUS Profile you created in Step 1. Enter the external portal redirection URL: https://captivux.com/captive
Define Walled Garden Rules
Under the Portal settings, locate Free Authentication Policy (Walled Garden). Add DNS templates for *.captivux.com, *.facebook.com, and accounts.google.com to allow guests to load the portal and OAuth logs.
RADIUS Parameters Reference
The technologies inside this device.
Select a technology to understand its real impact on density, latency and connection quality.
RADIO LAB / WIFI7
Wi-Fi 7 (802.11be)
The 7th generation: 320 MHz channels, 4K-QAM modulation and theoretical throughput up to 46 Gbps. Built for 8K, VR and thousands of simultaneous devices.
Wi-Fi 5 → 6 → 6E → 7
This model’s Wi-Fi 6 generation is highlighted.
| Generation | Standard | Bands | Channel | Max speed | Key tech |
|---|---|---|---|---|---|
| Wi-Fi 5 | 802.11ac | 5 GHz | 80 MHz | 3.5 Gbps | SU-MIMO |
| Wi-Fi 6THIS MODEL | 802.11ax | 2.4 / 5 GHz | 160 MHz | 9.6 Gbps | OFDMA · MU-MIMO |
| Wi-Fi 6E | 802.11ax | 2.4 / 5 / 6 GHz | 160 MHz | 9.6 Gbps | 6 GHz band |
| Wi-Fi 7 | 802.11be | 2.4 / 5 / 6 GHz | 320 MHz | 46 Gbps | MLO · 4K-QAM |